Place the Star LabTop Mk III on a soft protected surface to avoid any possible scratching of the anodized finish.

1. Remove the 10x outer short Phillips screws from the backplate.

2. Remove the 2x inner center longer Phillips screw from the backplate.

3. Carefully remove the backplate.
Please note: The speakers may require carefully prizing away from the backplate. Check whilst lifting the backplate on the bottom left and right corners, to avoid damaging the speaker cables/connectors.


4. Battery removal: Disconnecting the battery connector.


5. Remove the 4 Phillips screws that hold the battery in place.

6. Carefully lift out the battery, carefully unhooking the antenna, speaker and CPU Fan cabling from the top left cable guides.

7. I/O board Removal: Lift the ribbon cable clamp to detach the ribbon cable. Remove the 3x Phillips screws that hold the IO Board in place. You can then lift out the I/O Board.

8. Disconnect the Display connector, Wireless and Bluetooth Antennas.


9. Disconnect the following ribbon cables/connectors from the Mainboard: I/O Board, Keyboard, Touchpad & Speakers connector.

10. Disconnect both speakers and lift to remove


11. Removal of the Mainboard:
Remove the 5x Phillips screws around the Mainboard and then the 2x Phillips screws around the CPU Fan.

12. You can then lift out the Mainboard from the chassis.


13. Remove the I/O ribbon cable from the chassis.

14. Touchpad removal: Remove the 3x Phillips screws from the top edge of the touchpad.

15. Carefully lift out the touchpad from the chassis.


16. Removal of the Display Array:
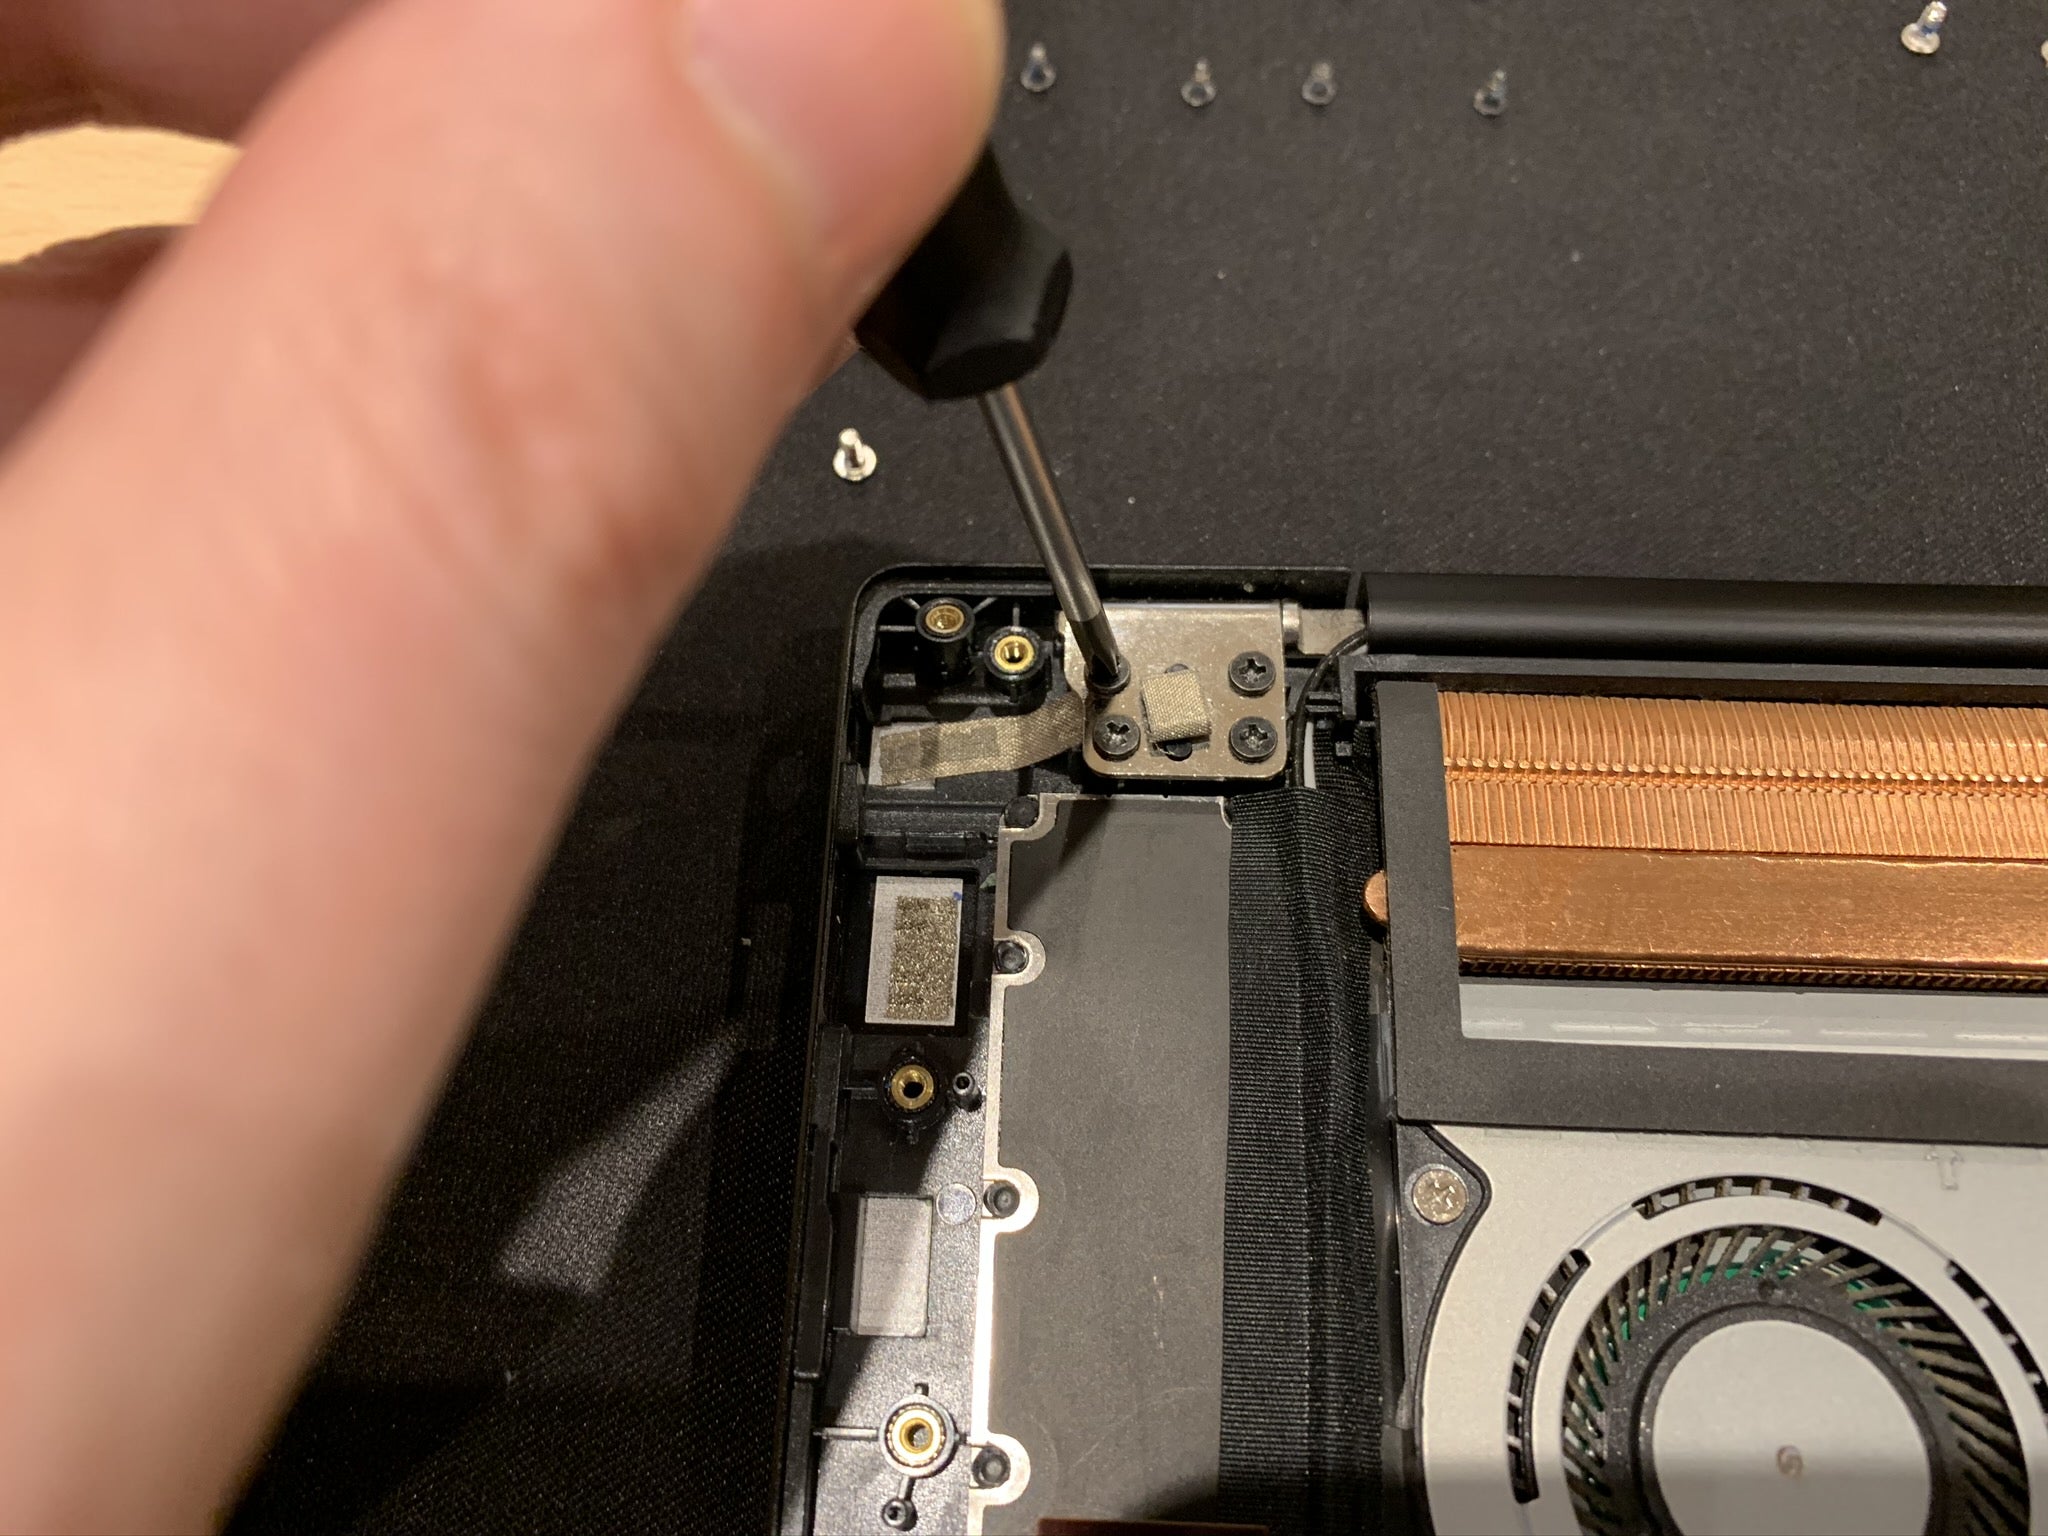
Remove the 4x Phillips screws from the left hinge....

And then the right hinge.

Carefully lift the hinges to 90 degrees, to allow the chassis to clear the hinges.

Then lift the chassis to slide away from the display array.

17. Disassembly is now complete.

18. Reassembly is the reverse of these steps.
